Lab: Create a Self-Hosted Runner
Introduction
In this lab, you will learn how to set up a self-hosted runner for your GitHub repository. A self-hosted runner allows you to run GitHub Actions workflows on your infrastructure, giving you more control over the execution environment.
Duration: 15-20 minutes
Instructions
Step 1: Navigate to the Repository’s Runner Settings
-
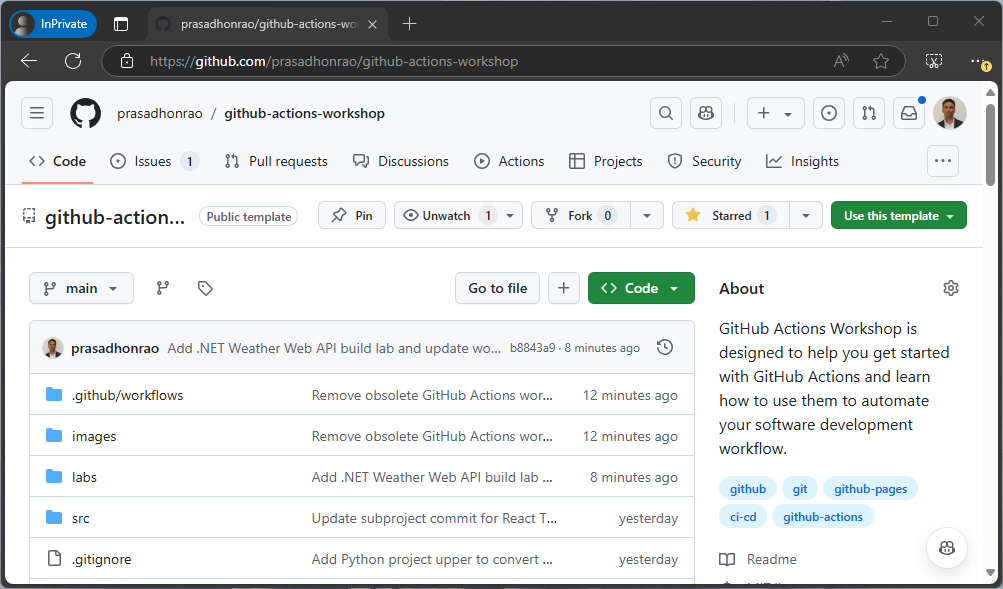
Go to your GitHub repository.
-
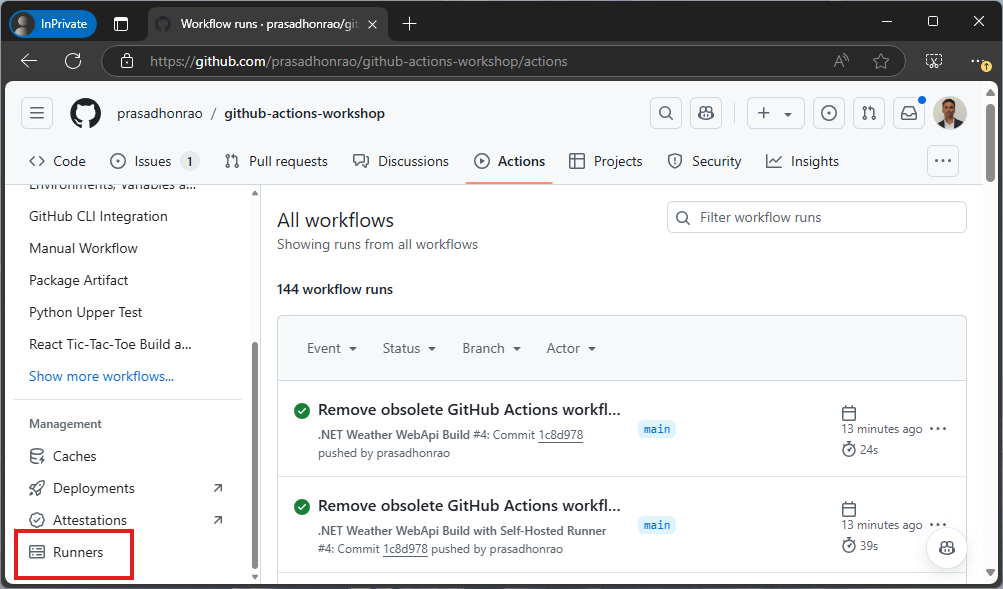
Click on the “Actions” tab.
-
Click on the “Runners” section in the left-hand navigation.
Step 2: Add a New Self-Hosted Runner
-
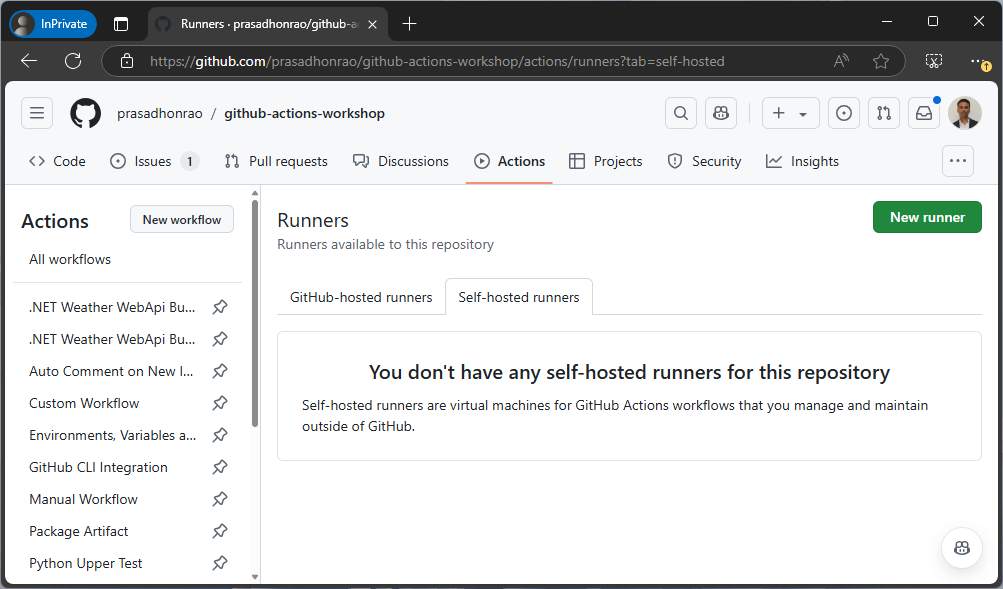
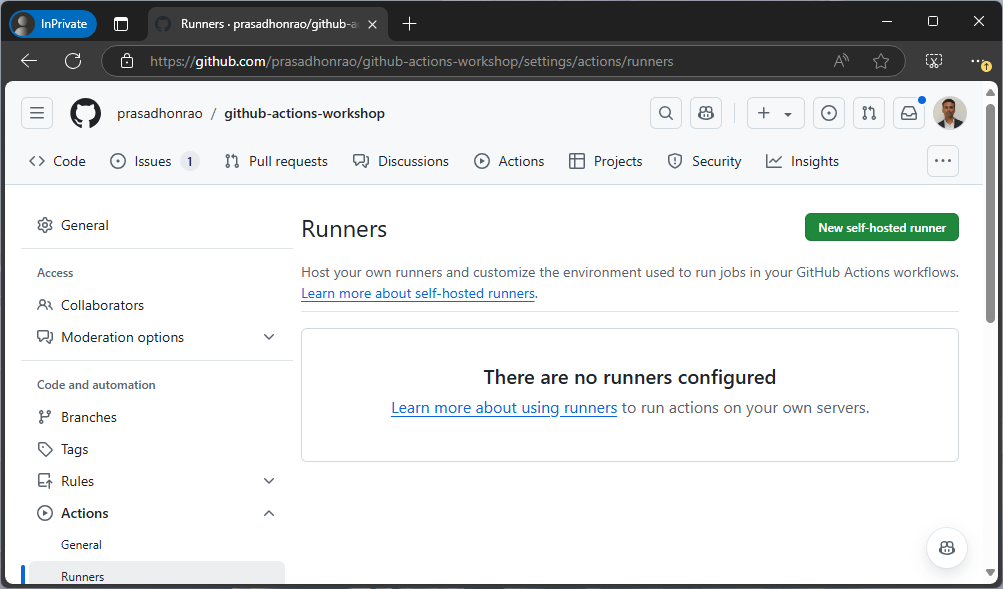
Under the Self-hosted runners section, click on the “Add Runner” button.
-
Click on the “New self-hosted runner” button.
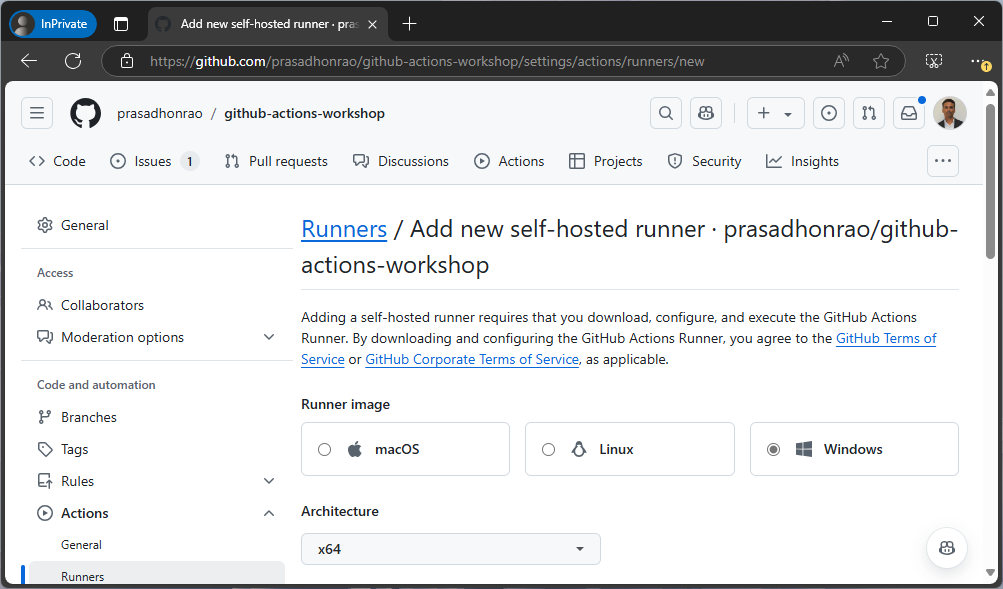
Step 3: Select Operating System and Architecture
- On the “Add a new self-hosted runner” page, choose the operating system and architecture that matches your machine.
-
Click on the “Download” button to download the appropriate runner package.
Step 4: Configure the Runner on Your Machine
-
Follow the displayed instructions to configure the runner. This typically involves:
- Extracting the downloaded package.
- Running a setup script (e.g.,
config.shon Linux/MacOS orconfig.cmdon Windows). - Adding the runner token provided by GitHub to authenticate.
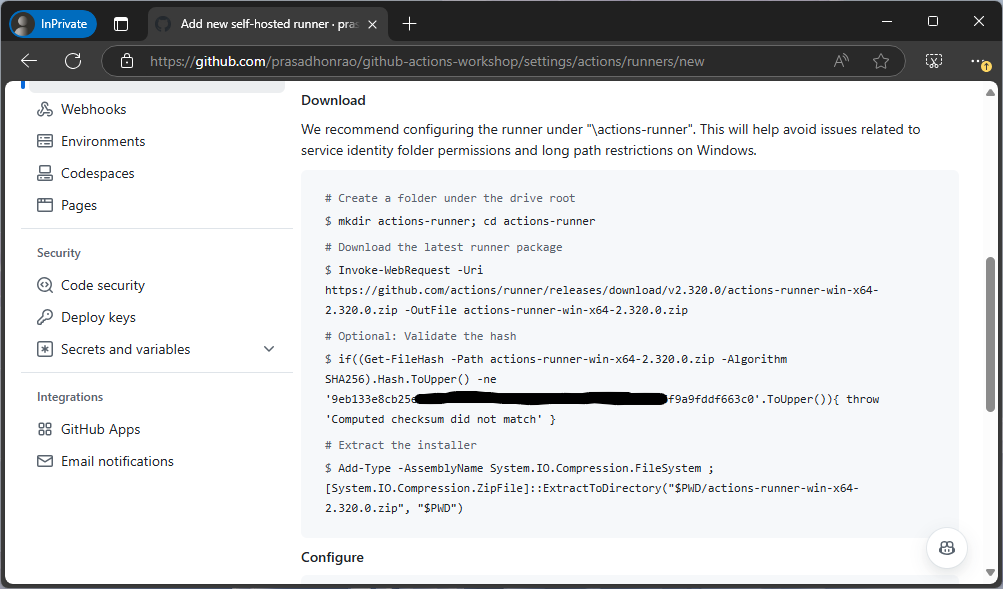
-
Once the setup script completes successfully, start the runner using the provided command (e.g.,
./run.shorrun.cmd).
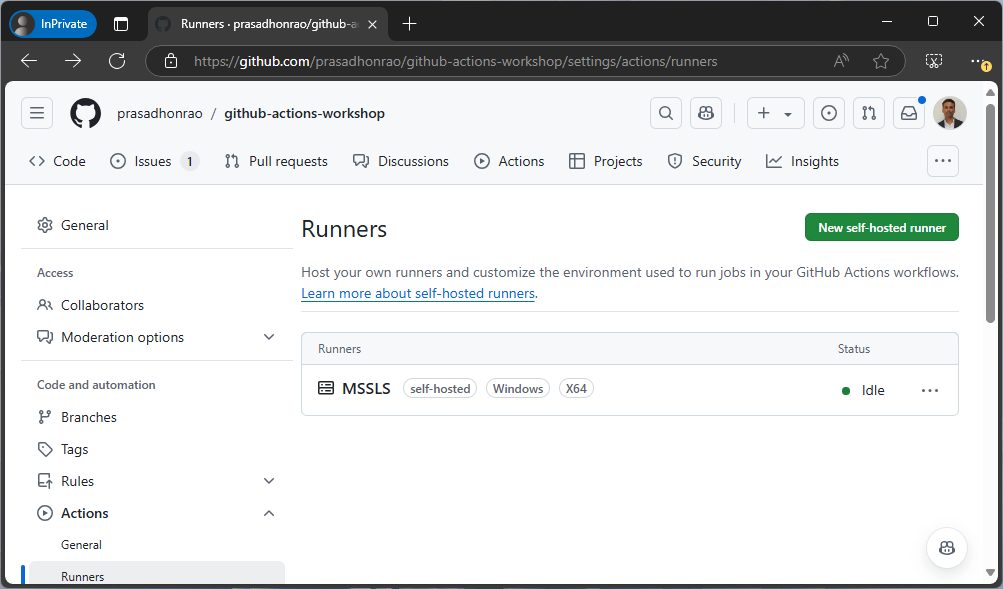
Step 5: Verify the Runner Configuration
- Return to the “Runners” section in the repository’s Actions tab.
-
You should see your new self-hosted runner listed as Online.
Summary
In this lab, you successfully created and configured a self-hosted runner for your GitHub repository. This allows you to execute workflows using your own infrastructure. Self-hosted runners are particularly useful for tasks requiring specific hardware or software configurations.