Lab: Simple Workflow
Introduction
In this lab, you will use the Simple Workflow built-in template to create a GitHub Actions workflow. This workflow is triggered on specific events and demonstrates basic concepts such as jobs, steps, and commands. You will also explore and understand the structure and purpose of the provided workflow file.
Duration: 20-30 minutes
Instructions
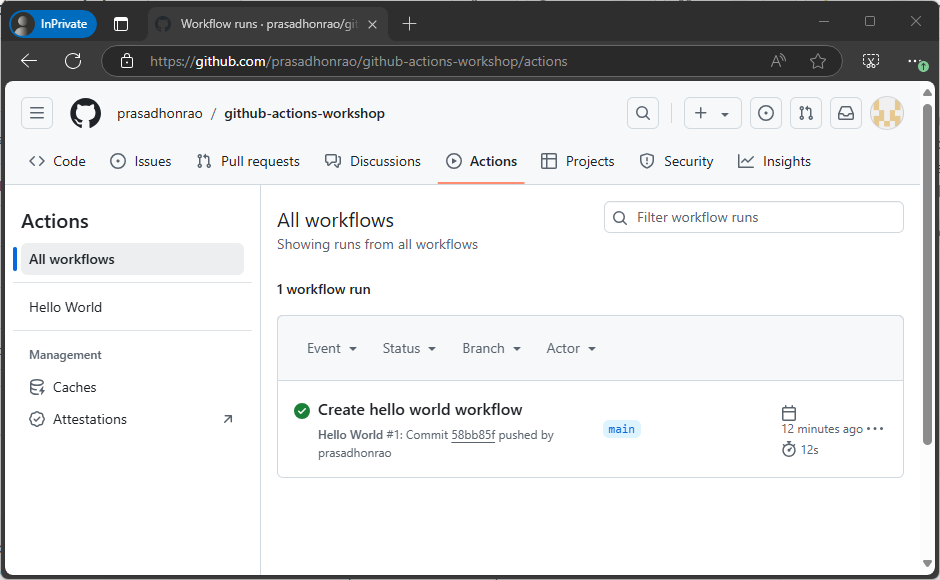
Step 1: Navigate to the Repository
-
Open the repository you created in the previous lab.

Step 2: Open the Actions Tab
-
Click on the Actions tab in your repository.
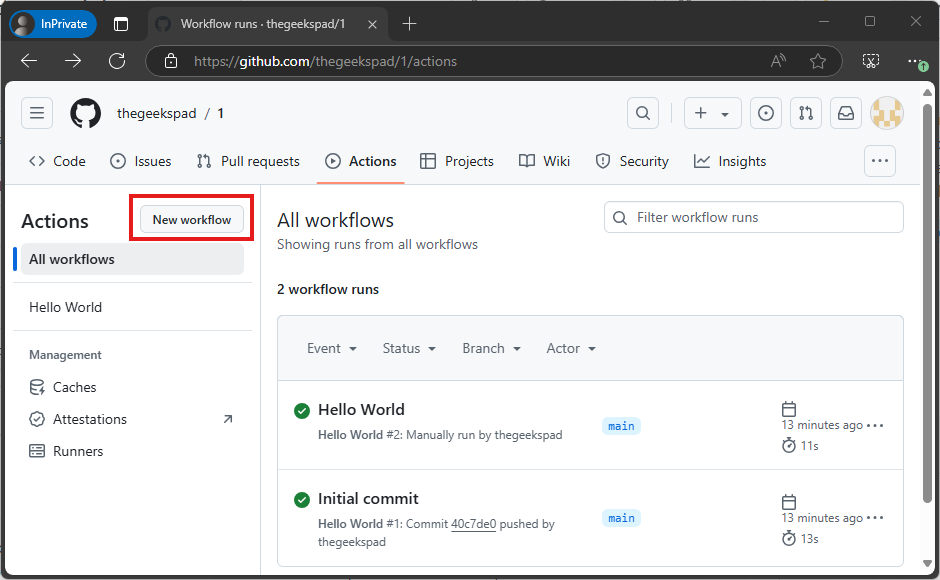
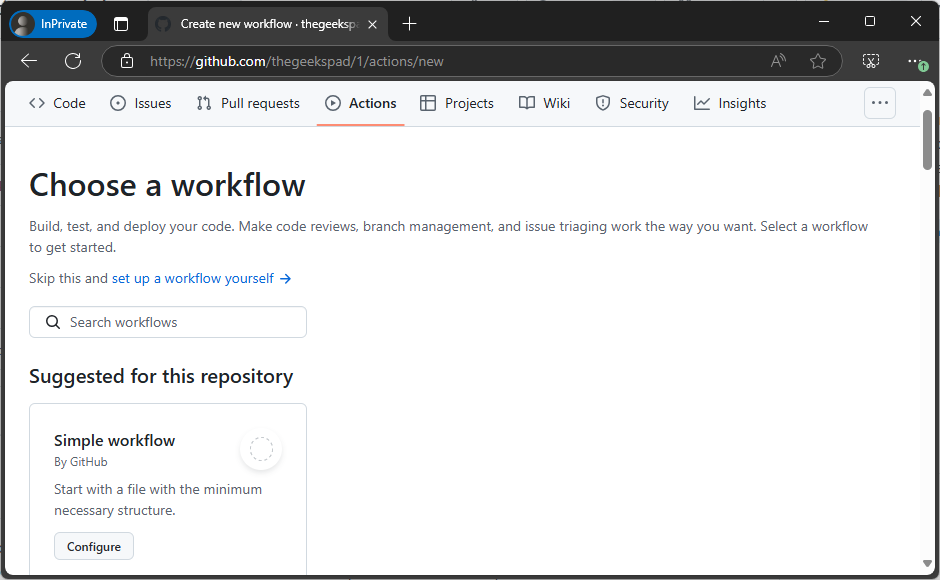
Step 3: Create a New Workflow
-
Click on the New workflow button.
-
Select the Simple workflow template and click Configure.
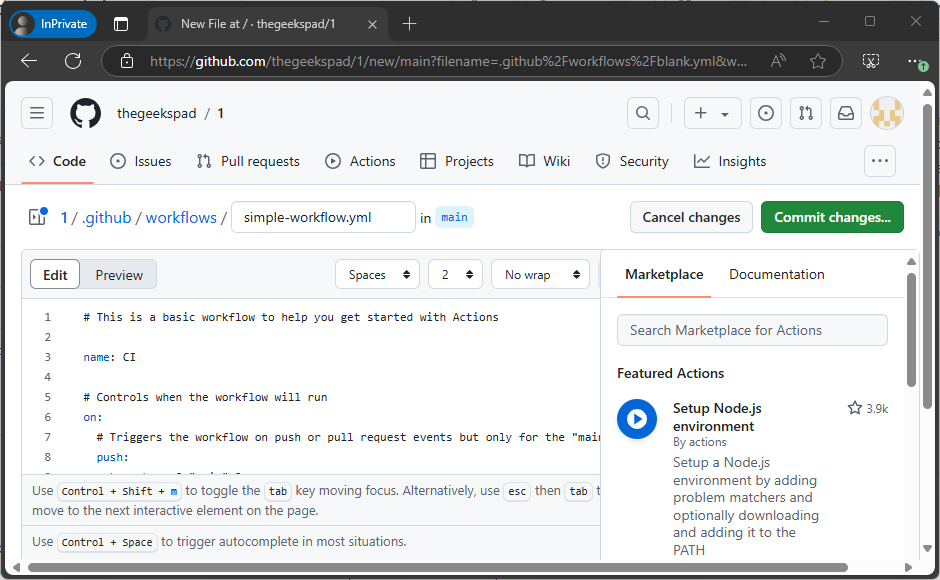
Step 4: Save the Workflow
-
Name the workflow file
simple-workflow.yml. -
Click Commit changes… to save the workflow.
-
This will create the file
.github/workflows/simple-workflow.ymlin your repository.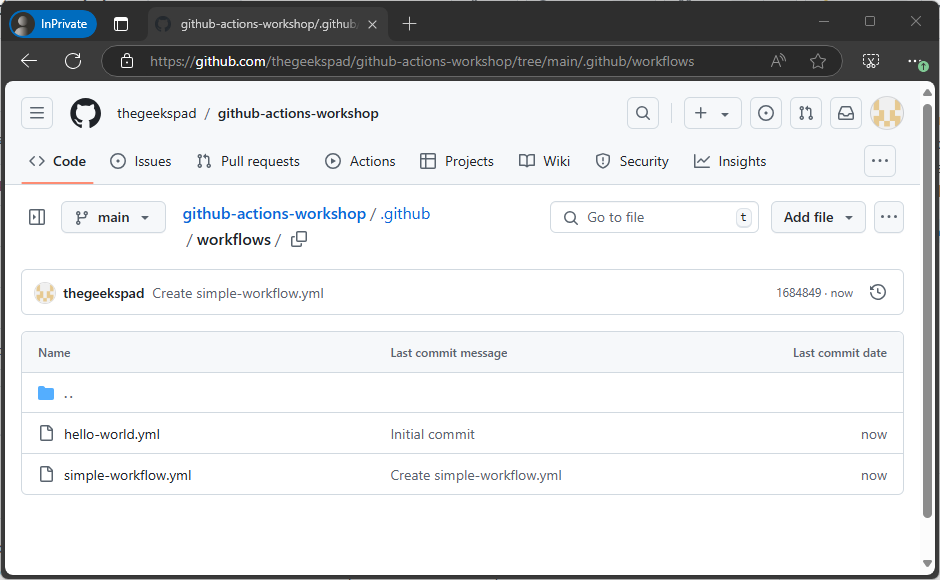
Understanding the Simple Workflow Template
Here is the content of the Simple Workflow template:
name: Intro - Simple Workflow

# Controls when the workflow will run
on:
  # Triggers the workflow on push or pull request events but only for the "main" branch
  push:
    branches: ['main']
  pull_request:
    branches: ['main']

  # Allows you to run this workflow manually from the Actions tab
  workflow_dispatch:

# A workflow run is made up of one or more jobs that can run sequentially or in parallel
jobs:
  # This workflow contains a single job called "build"
  build:
    # The type of runner that the job will run on
    runs-on: ubuntu-latest

    # Steps represent a sequence of tasks that will be executed as part of the job
    steps:
      # Checks-out your repository under $GITHUB_WORKSPACE, so your job can access it
      - uses: actions/checkout@v4

      # Runs a single command using the runners shell
      - name: Run a one-line script
        run: echo Hello, world!

      # Runs a set of commands using the runners shell
      - name: Run a multi-line script
        run: |
          echo Add other actions to build,
          echo test, and deploy your project.
Template Explanation
-
Name:
The workflow is named Intro - Simple Workflow for easy identification. -
Triggers (
on):- Manual trigger (
workflow_dispatch): Allows the workflow to be triggered manually via the Actions tab. - Commented triggers: Push and pull request triggers for the
mainbranch are provided as examples but are commented out. Uncomment them to enable automatic triggers.
- Manual trigger (
-
Jobs:
The workflow defines a single job namedbuild. -
Runner:
The job uses theubuntu-latestrunner, which provides a Linux environment to execute the workflow steps. -
Steps:
- Checkout: The workflow uses the
actions/checkout@v4action to clone the repository’s code into the runner. - Run commands:
- A single-line command prints “Hello, world!” to the console.
- A multi-line command prints additional lines, demonstrating how to build, test, and deploy a project.
- Checkout: The workflow uses the
Key Takeaways
- This workflow provides a simple foundation to understand the structure of GitHub Actions workflows.
- You can customize it to add more jobs, steps, or triggers as per your project requirements.
Step 5: View and Run the Workflow
-
Return to the Actions tab. You should see the workflow listed.
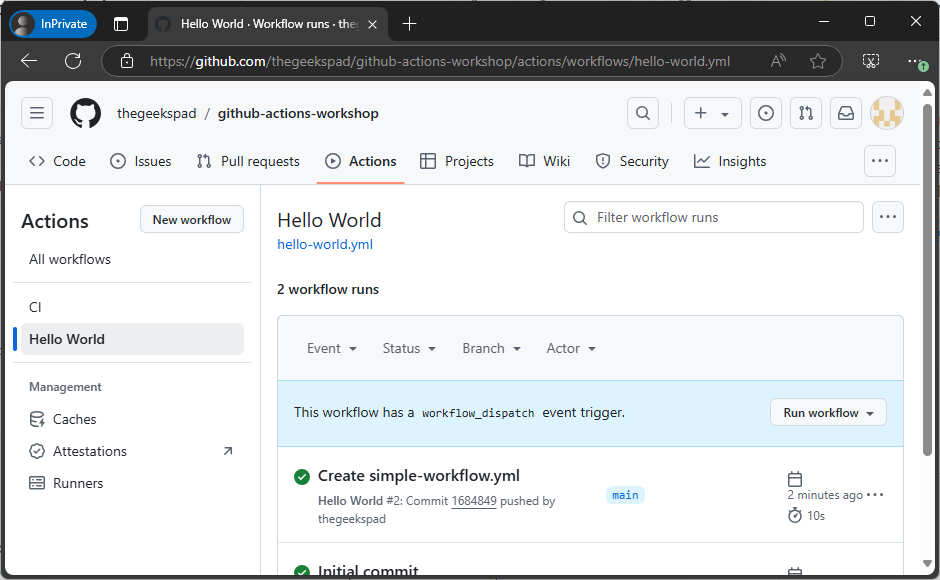
-
Click on Run workflow, select the
mainbranch, and then click Run workflow.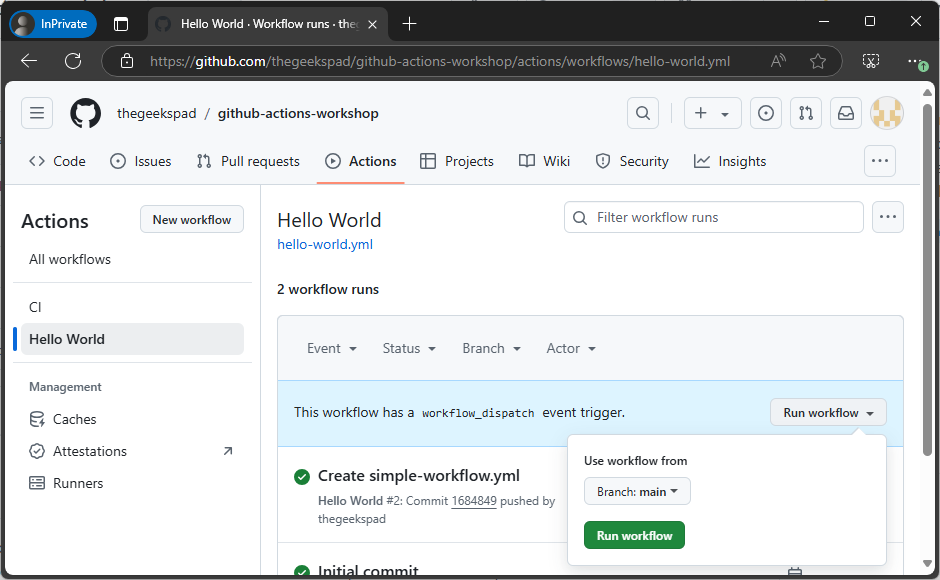
-
The workflow will begin running. Click on the workflow run to view its details.
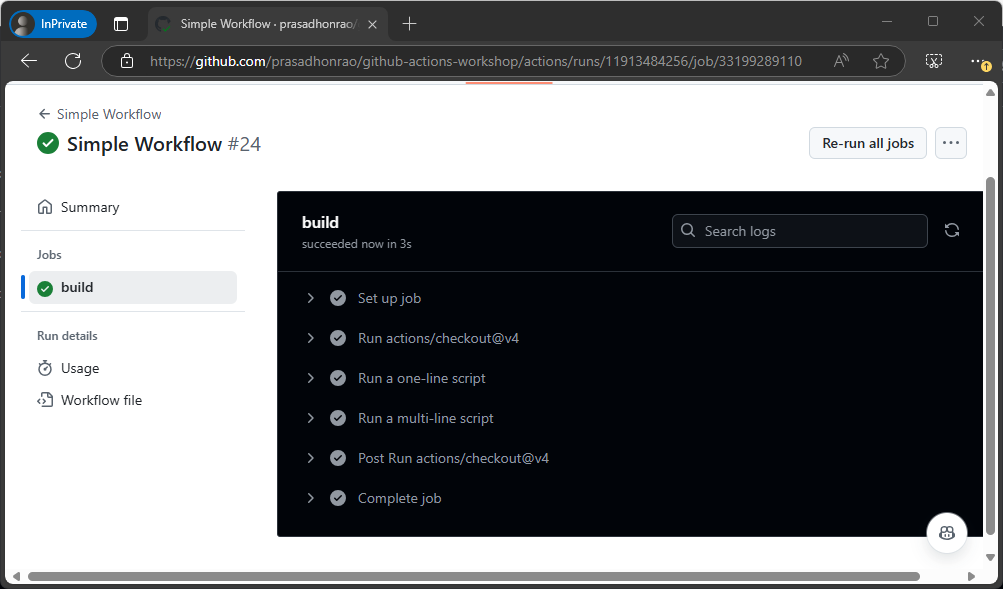
Step 6: Inspect the Workflow Run
- Inside the workflow run details, review the steps executed by the workflow.
- Expand any steps to view their output.
Summary
In this lab, you used the Simple Workflow template to create a workflow. You learned about its structure, including jobs, triggers, and steps, and observed how it operates when triggered manually.