GitHub Actions Workshop
Master GitHub Actions with hands-on labs and exercises. Learn how to automate workflows, run tests, deploy applications, and more using GitHub's powerful automation platform. This repository has everything you need to get started with continuous integration and continuous deployment.
Project maintained by prasadhonrao Hosted on GitHub Pages — Theme by mattgraham
Lab: Create a Self-Hosted Runner
Introduction
In this lab, you will learn how to set up a self-hosted runner for your GitHub repository. A self-hosted runner allows you to run GitHub Actions workflows on your infrastructure, giving you more control over the execution environment.
Duration: 15-20 minutes
Instructions
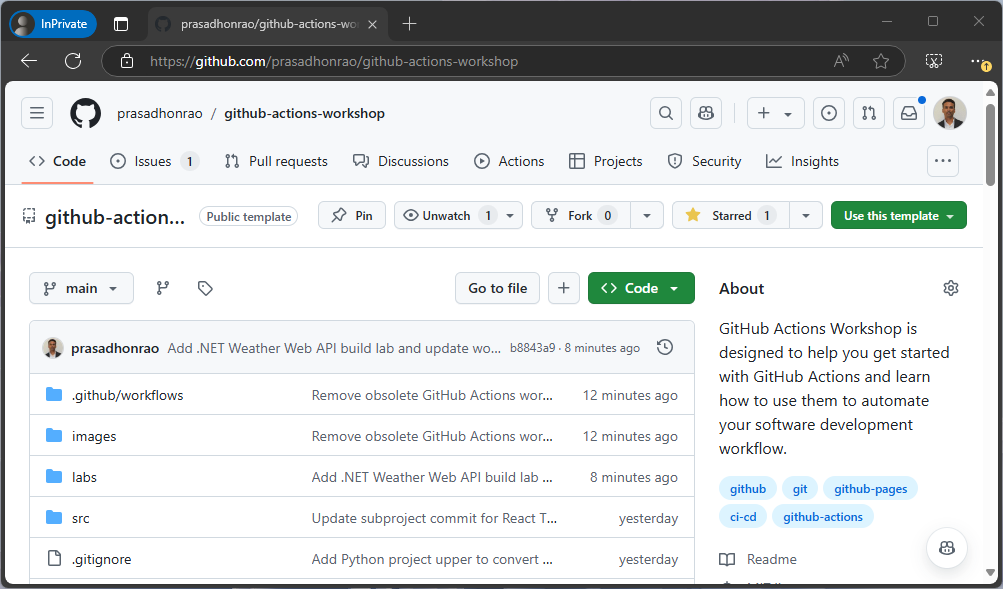
Step 1: Navigate to the Repository’s Runner Settings
-
Go to your GitHub repository.
-
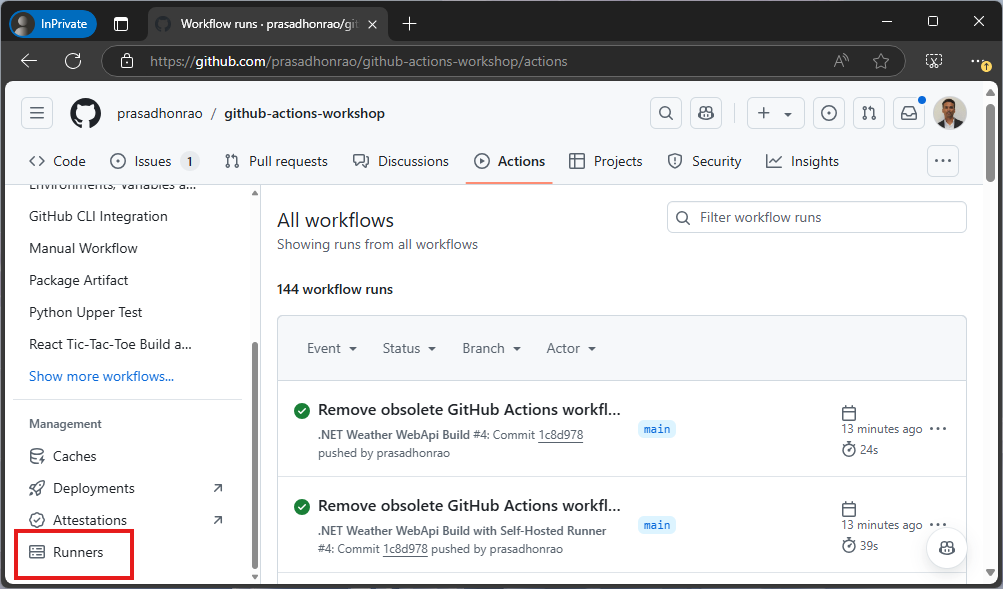
Click on the “Actions” tab.
-
Click on the “Runners” section in the left-hand navigation.
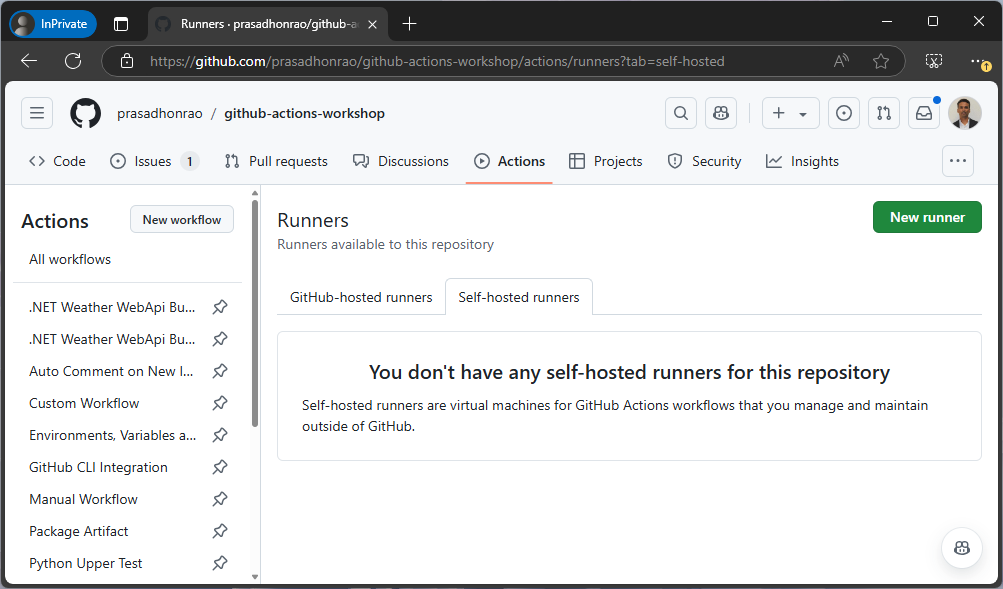
Step 2: Add a New Self-Hosted Runner
-
Under the Self-hosted runners section, click on the “Add Runner” button.
-
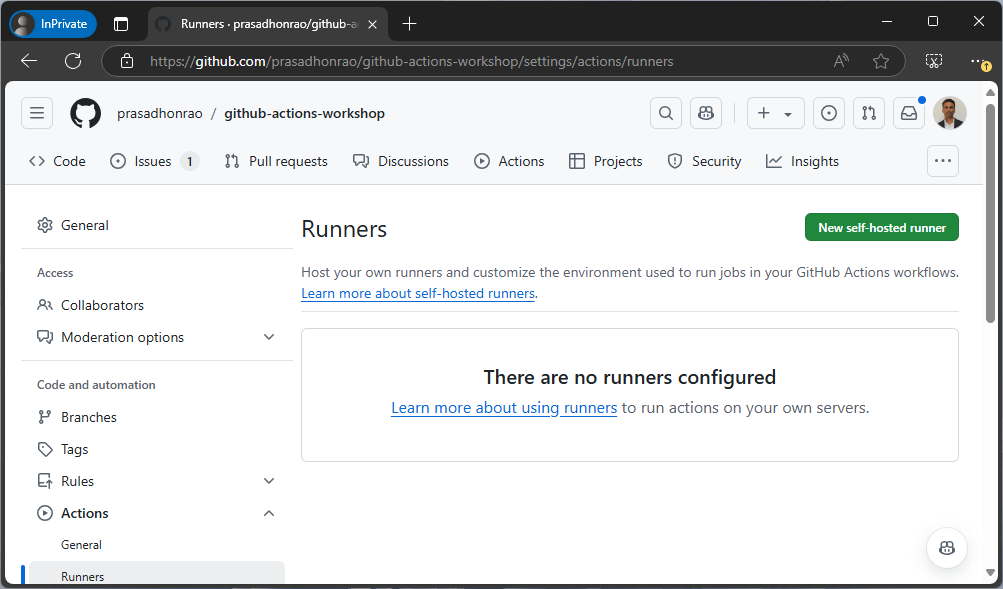
Click on the “New self-hosted runner” button.
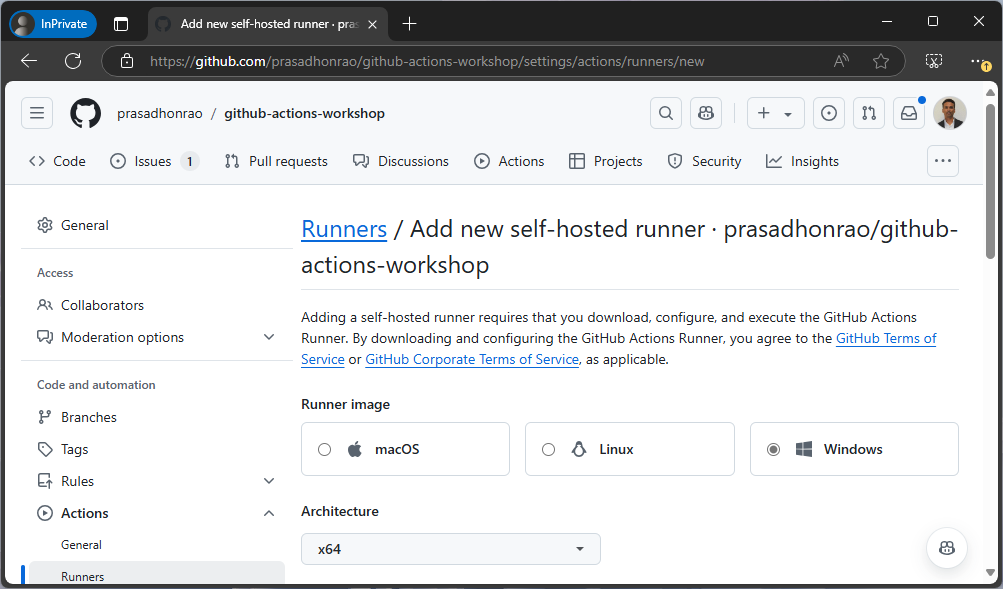
Step 3: Select Operating System and Architecture
- On the “Add a new self-hosted runner” page, choose the operating system and architecture that matches your machine.
-
Click on the “Download” button to download the appropriate runner package.
Step 4: Configure the Runner on Your Machine
-
Follow the displayed instructions to configure the runner. This typically involves:
- Extracting the downloaded package.
- Running a setup script (e.g.,
config.shon Linux/MacOS orconfig.cmdon Windows). - Adding the runner token provided by GitHub to authenticate.
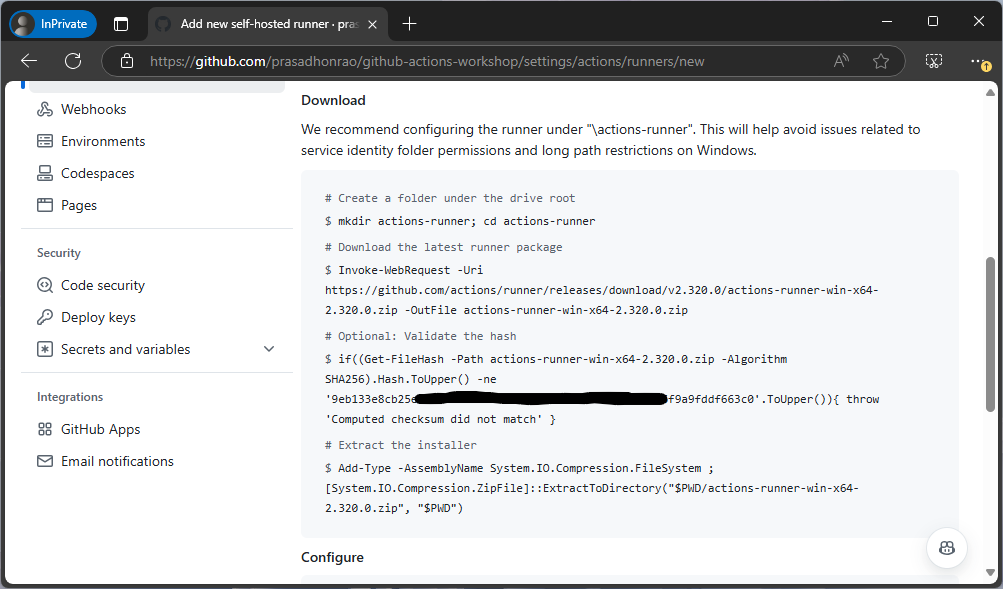
-
Once the setup script completes successfully, start the runner using the provided command (e.g.,
./run.shorrun.cmd).
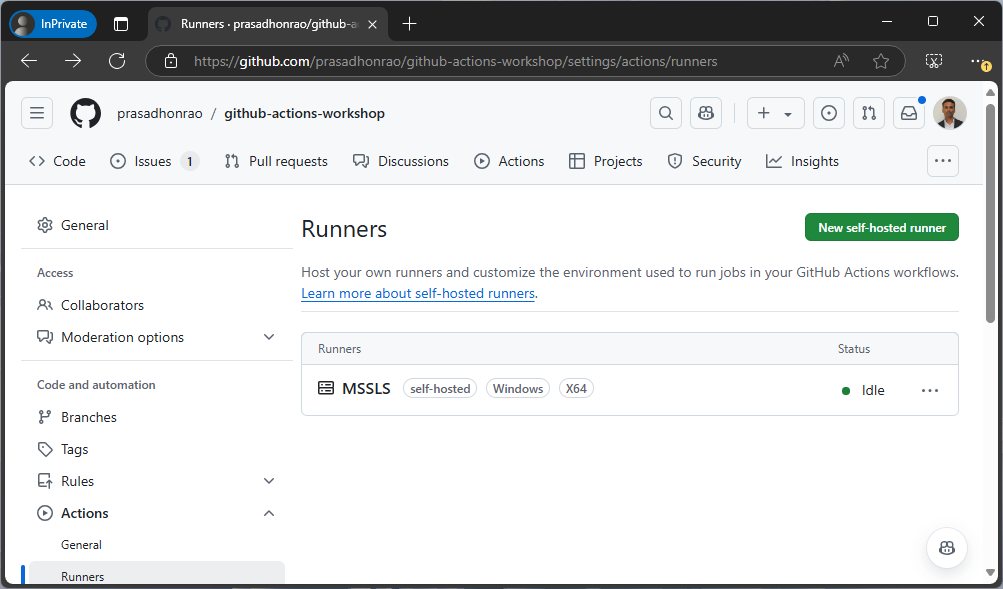
Step 5: Verify the Runner Configuration
- Return to the “Runners” section in the repository’s Actions tab.
-
You should see your new self-hosted runner listed as Online.
Summary
In this lab, you successfully created and configured a self-hosted runner for your GitHub repository. This allows you to execute workflows using your own infrastructure. Self-hosted runners are particularly useful for tasks requiring specific hardware or software configurations.